I thrive on creative challenges--most of the time. However, I tend to greet display decisions with the same enthusiasm that I muster to organize income taxes or to go to the doctor.
But on the spur of the moment, in utter desperation, I came up with a way to display a wide array of soaps so they are easy to see.
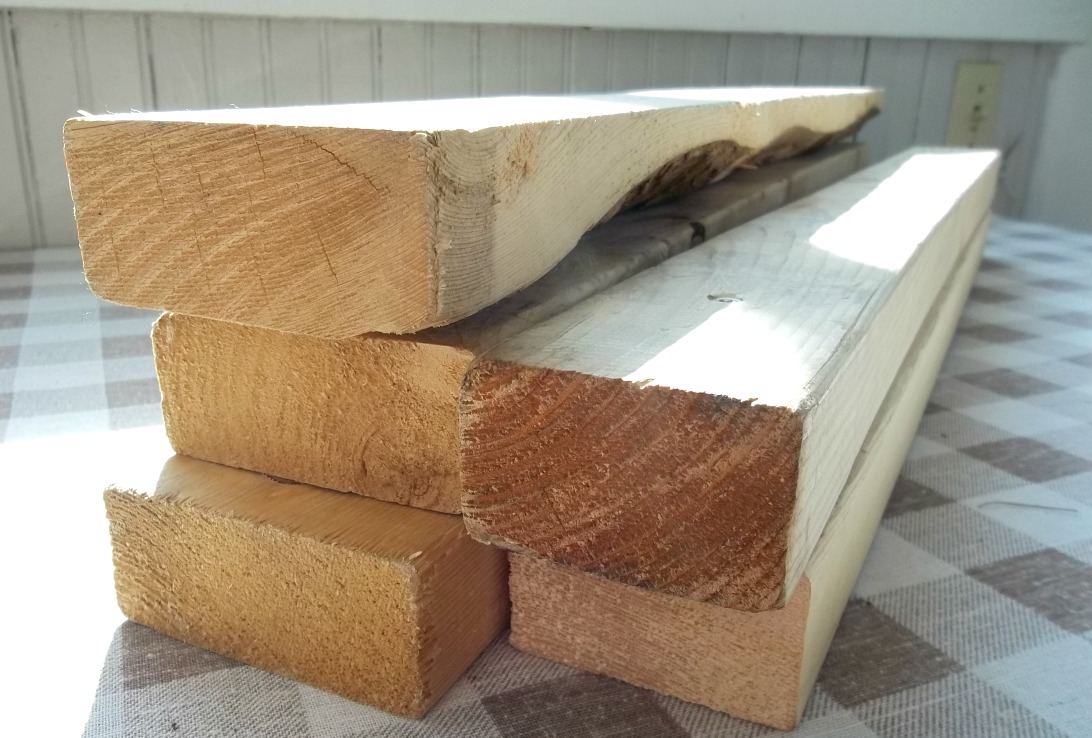
I dug through the Mister's scrap piles and found 5 chunks of wood that were vaguely similar.

I stacked them and wrapped a piece of fabric around the lumber.

Voila. Instant display. It has proven so handy that I'm still using it for the farmer's market this summer. I screwed the stacks together so it's easy to tote around. I'm not looking at it as a long-term display, just until I get a fancy one, once I decide exactly what I want. That means I'll probably be using it for years.
Is this an original idea for a quick display? It probably isn't, but I thought it was a touch of genius at the time, so don't feel obligated to burst my bubble.
Do you have any display ideas to share? Leave a link below and I will eagerly check them out.
But on the spur of the moment, in utter desperation, I came up with a way to display a wide array of soaps so they are easy to see.
I dug through the Mister's scrap piles and found 5 chunks of wood that were vaguely similar.
I stacked them and wrapped a piece of fabric around the lumber.

Voila. Instant display. It has proven so handy that I'm still using it for the farmer's market this summer. I screwed the stacks together so it's easy to tote around. I'm not looking at it as a long-term display, just until I get a fancy one, once I decide exactly what I want. That means I'll probably be using it for years.
Is this an original idea for a quick display? It probably isn't, but I thought it was a touch of genius at the time, so don't feel obligated to burst my bubble.
Do you have any display ideas to share? Leave a link below and I will eagerly check them out.
Hi Amy, I designed one that is three tiers and comes apart for easy transport. I had a guy from the market build it for me (I lucked out, he only charged me $50). The sides are on hinges so they fold up nicely. It is 30" long. I am going to a market today so I will take pictures of it for you, if you like.
ReplyDeleteYes, I would love to see it! (My plan is to figure out what I want then get my awesome carpenter husband to build it.)
ReplyDeleteEven sturdy cardboard boxes taped to the table and then covered with the table cloth, does the job for me. This also creates tall layers where required.
ReplyDeleteSmart idea, we are always changing our market display around. Shockingly we've left it alone for a few months this season. With fall around the corner it's time to switch it up again. I'd love to have a husband who could build whatever I wanted. A girl can dream. :)
ReplyDelete